ENGINEERING PLASTIC MACHINING GUIDE
———————————-
These guidelines are intended to provide a general overview for those unfamiliar with working with plastics, but it is important to note that the optimal machining conditions may vary depending on the specific part being produced. One key consideration when machining plastics is that they are generally softer than metals, which can make it more challenging to maintain precise tolerances during and after machining. Aiming for tolerances of +/- .05 millimeters for engineering plastic components, although it is possible to achieve tighter tolerances with certain materials that are more dimensionally stable.
If you encounter any issues during the machining process, such as undesirable surface finishes or unexpected material behavior, it may be helpful to refer to the troubleshooting quick reference for guidance on how to resolve them. By understanding the unique characteristics of plastics and using the appropriate machining techniques, you can achieve high-quality results in your work.
Which Are the Easiest Engineering Plastics to Machine?
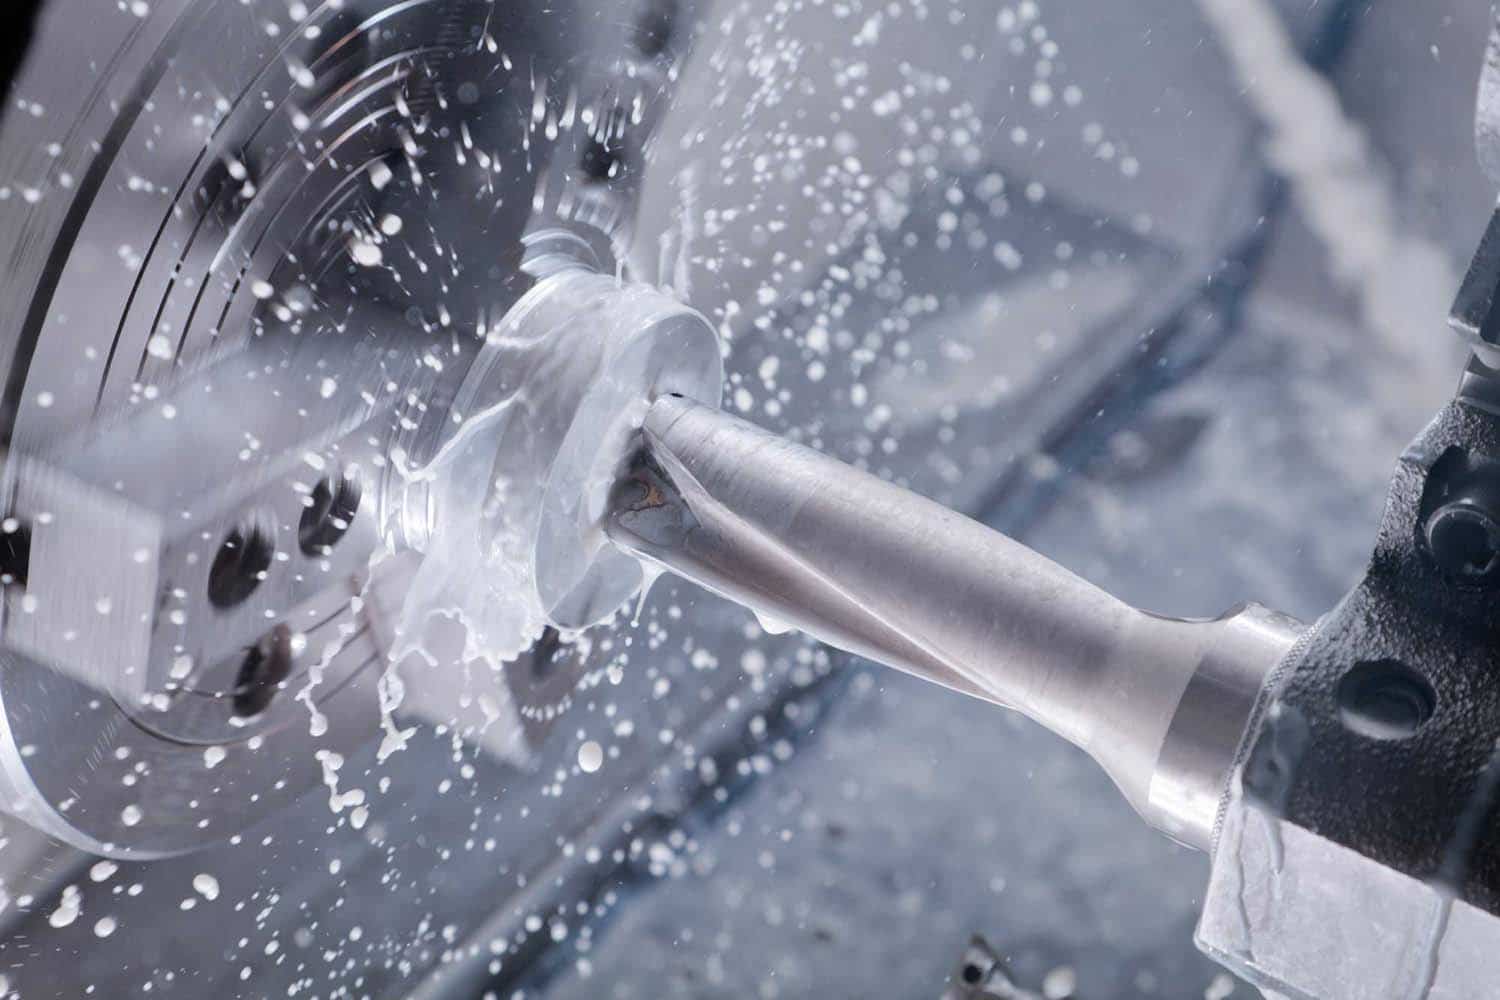
In comparison to traditional materials such as metals, plastics are usually softer, allow a higher feed rates and wear machines/tools significantly less. Despite this, they drastically differentiate when it comes to which plastics are easiest to machine. Common problems include surface burning, chipping, bowing out of tolerance, poor finishes and cracking.
Easy engineering plastics to machine include Acetal (POM), Polyester (PET) & Polyetheretherketone (PEEK).
Moderate engineering plastics to machine include Teflon (PTFE), UHMWPE & HDPE.
Difficult engineering plastics to machine include Nylon (PA), Polypropylene & Epoxy Glass Fibre.
What Type of Tooling Should I Use for Machining Engineering Plastics?
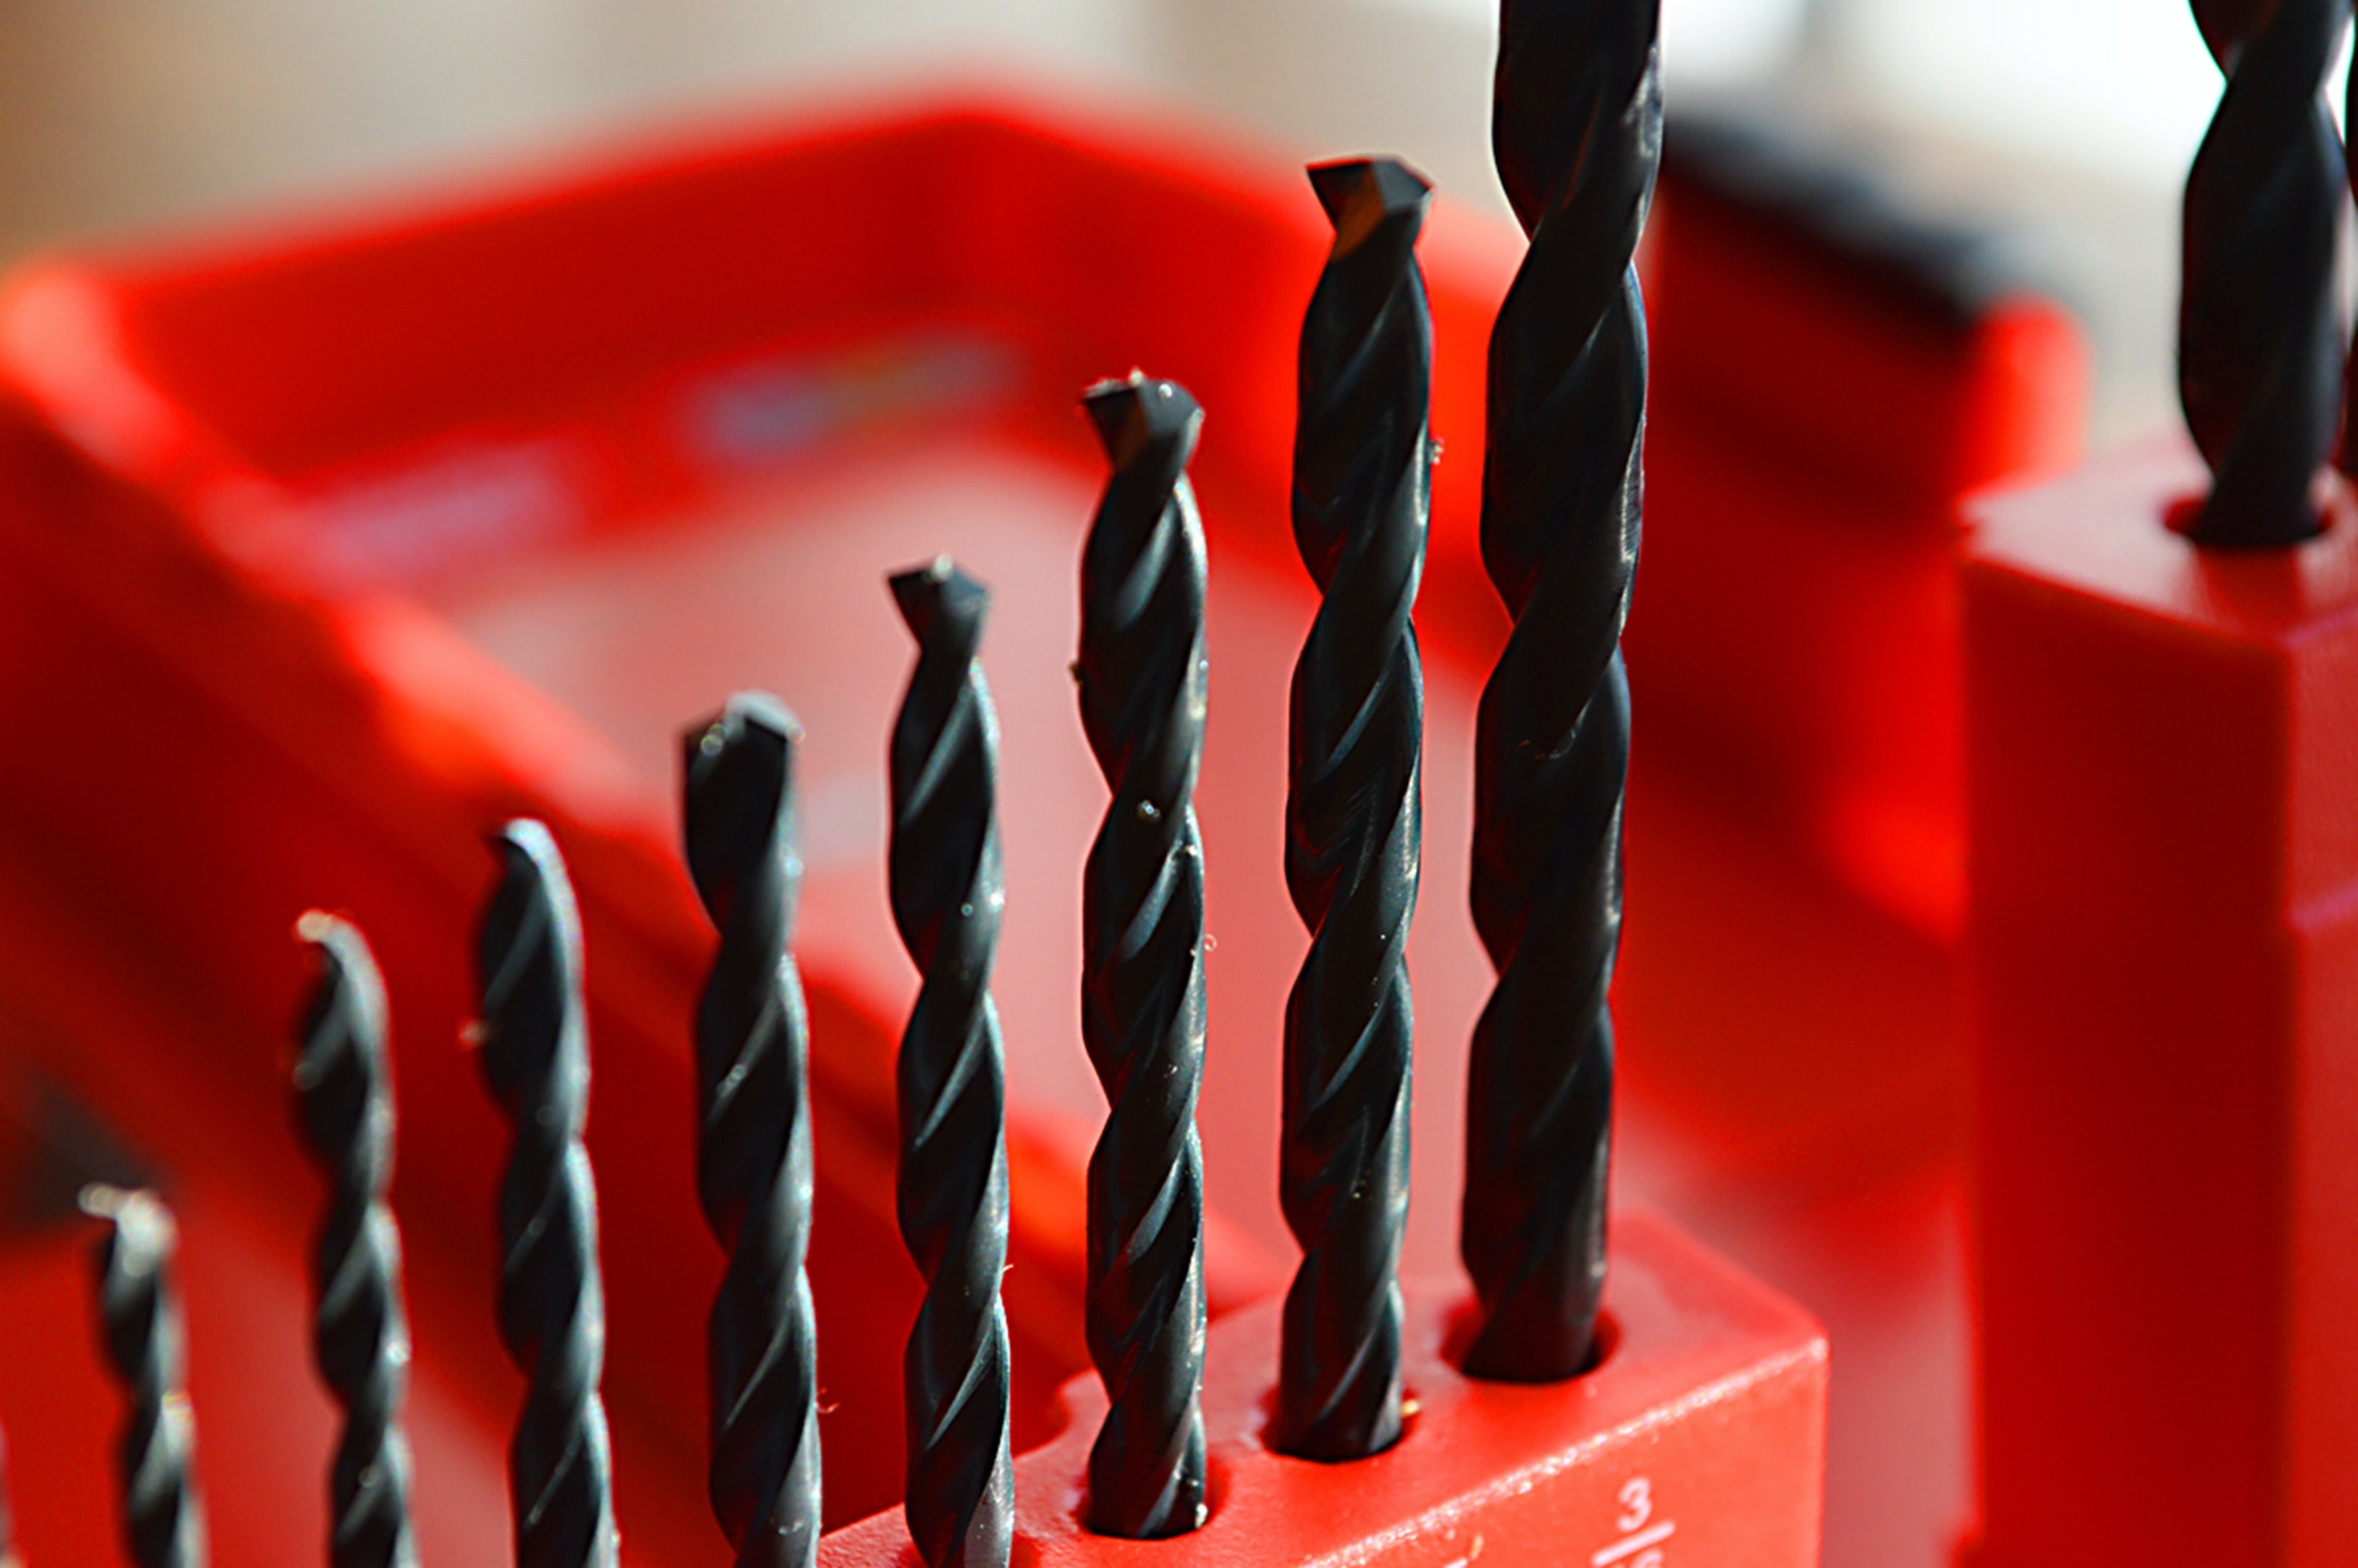
When performing a large volume of machining, tungsten carbide tipped or diamond bit tools are often the go-to option, especially when working with glass or carbon fiber reinforced materials. That being said, carbon steel, high speed steel, and hard metal tools can also be effectively utilized.
When Should I Use Coolants?
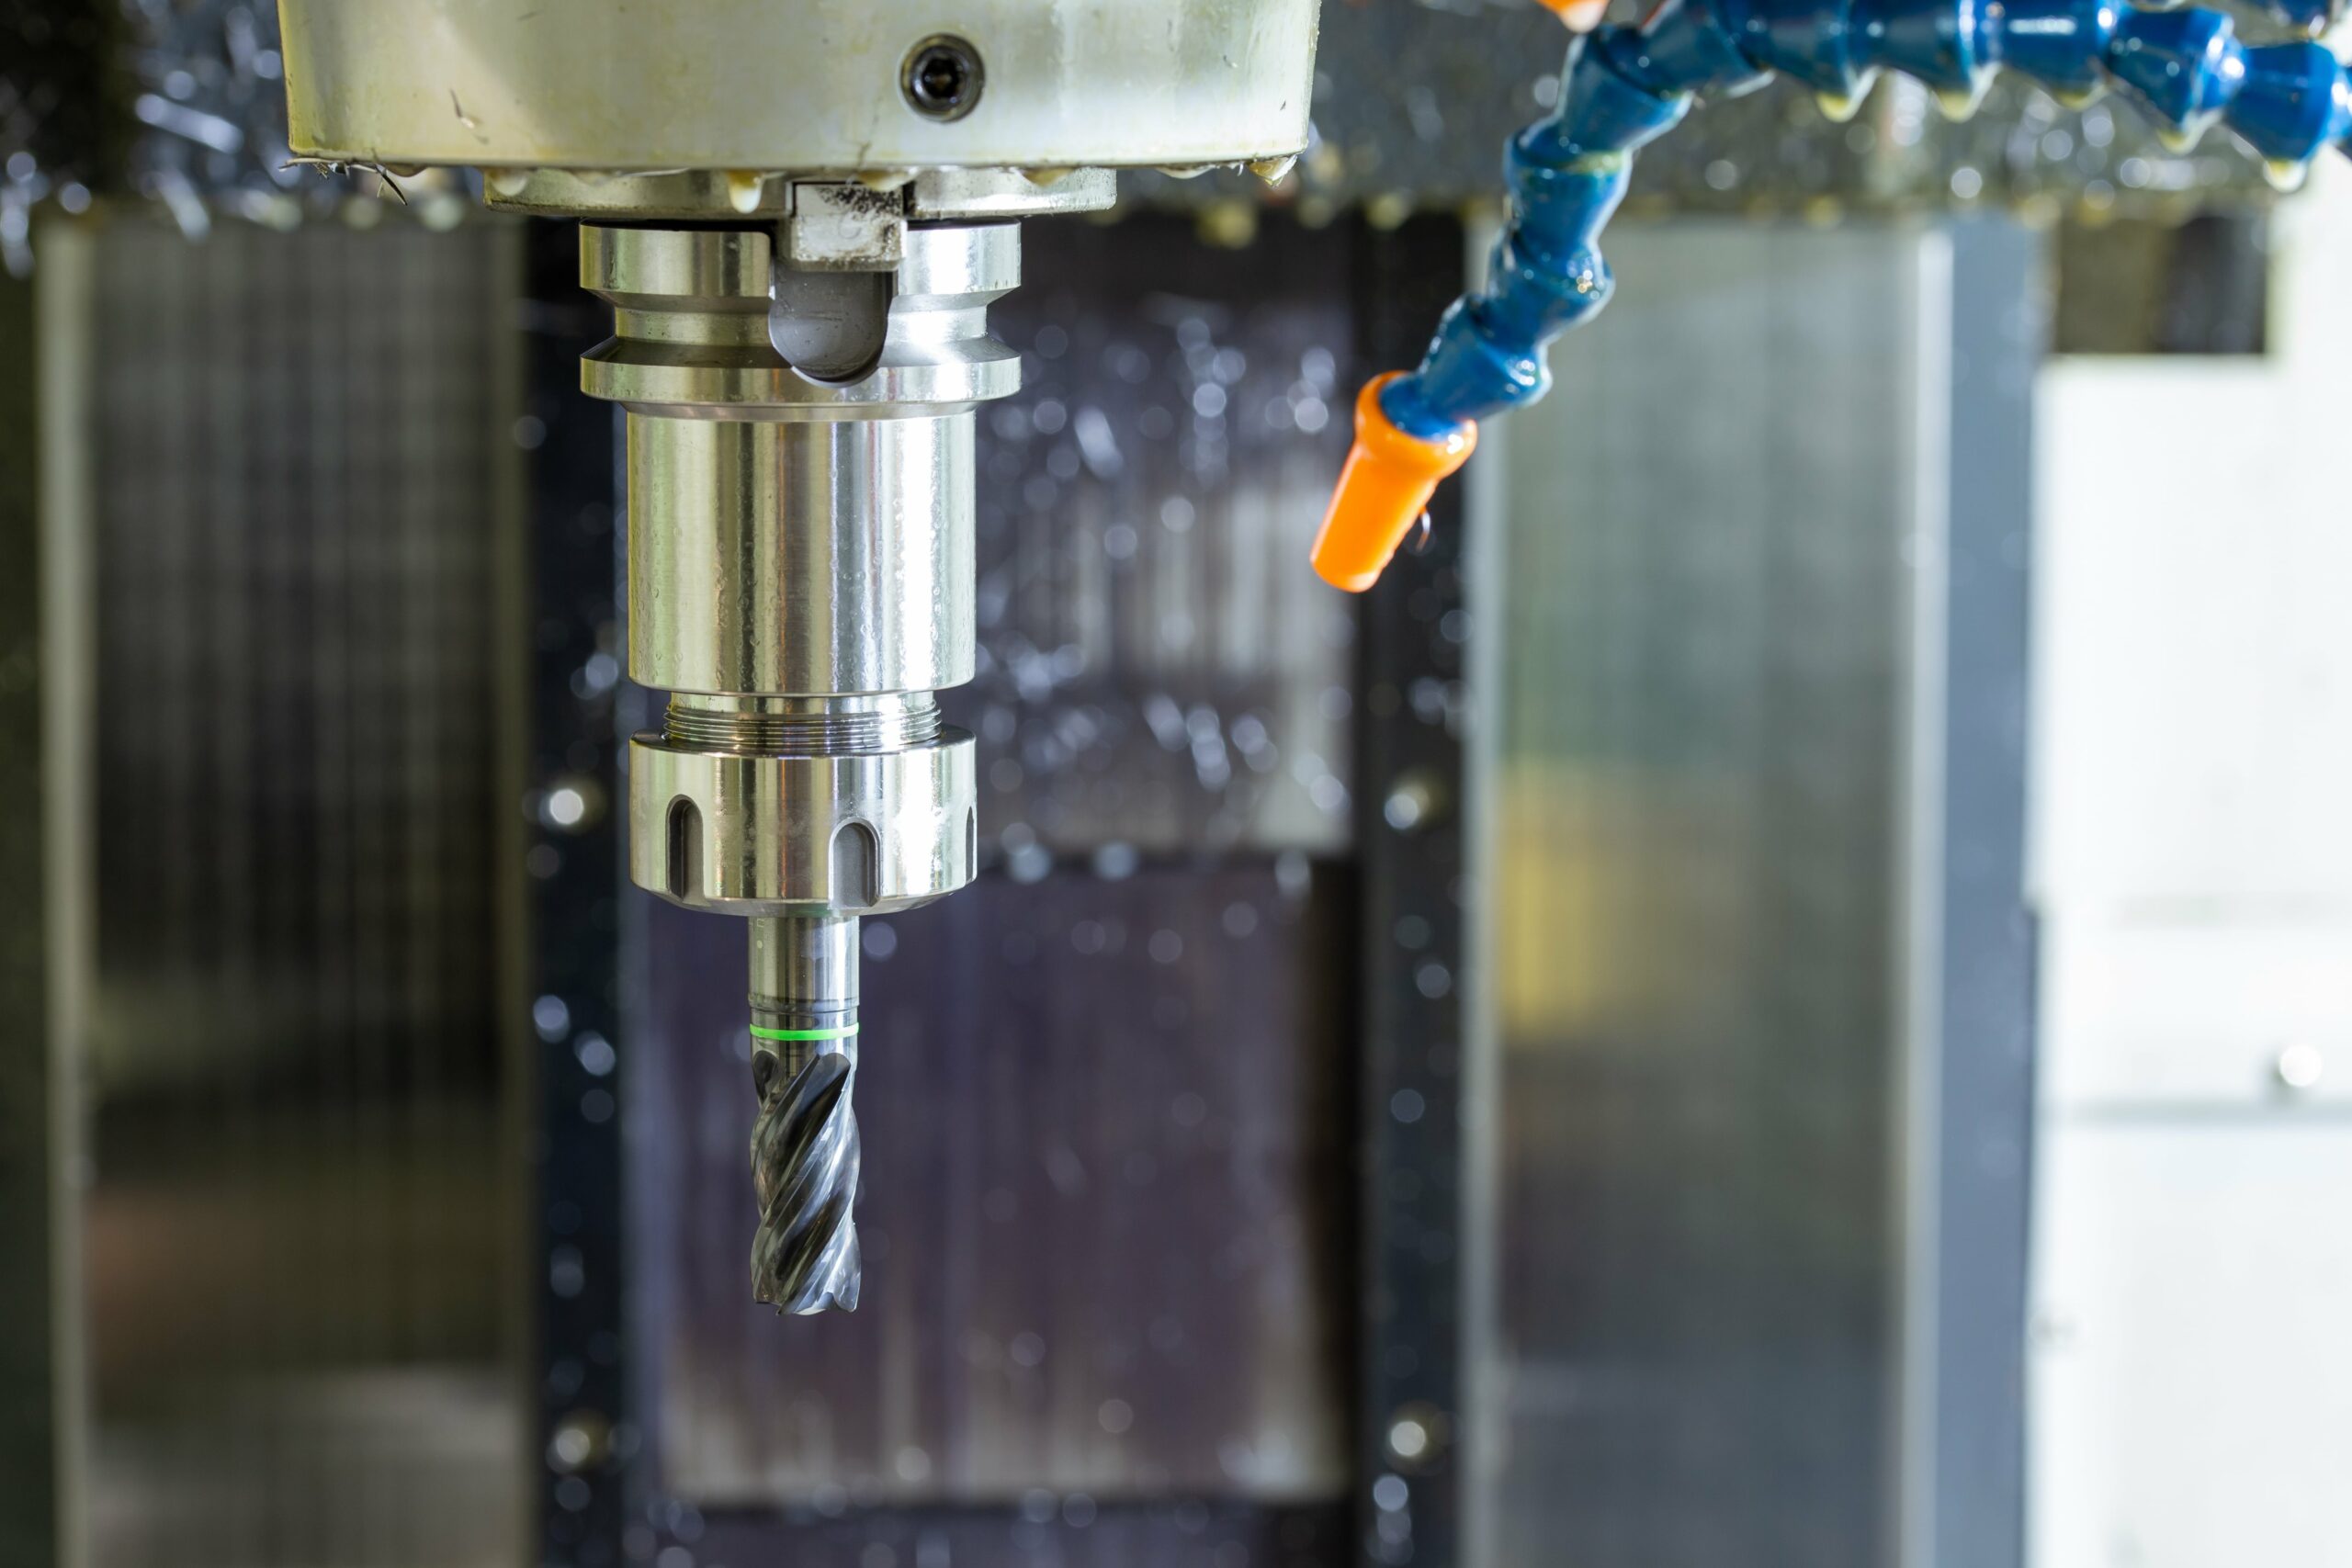
If a coolant is necessary during machining to ensure optimum surface finishes, adherence to close tolerances and to reduce material burn. Water soluble oil types are often found to be the most effective. Petroleum based coolant fluids my be suitable for some plastics, however, they can lead to environmental stress cracking in amorphous engineering plastics such as Polycarbonate or Acrylic. In these cases, pure water or compressed air is often the more suitable choice.
What is the Best Way to Drill Into Engineering Plastics?
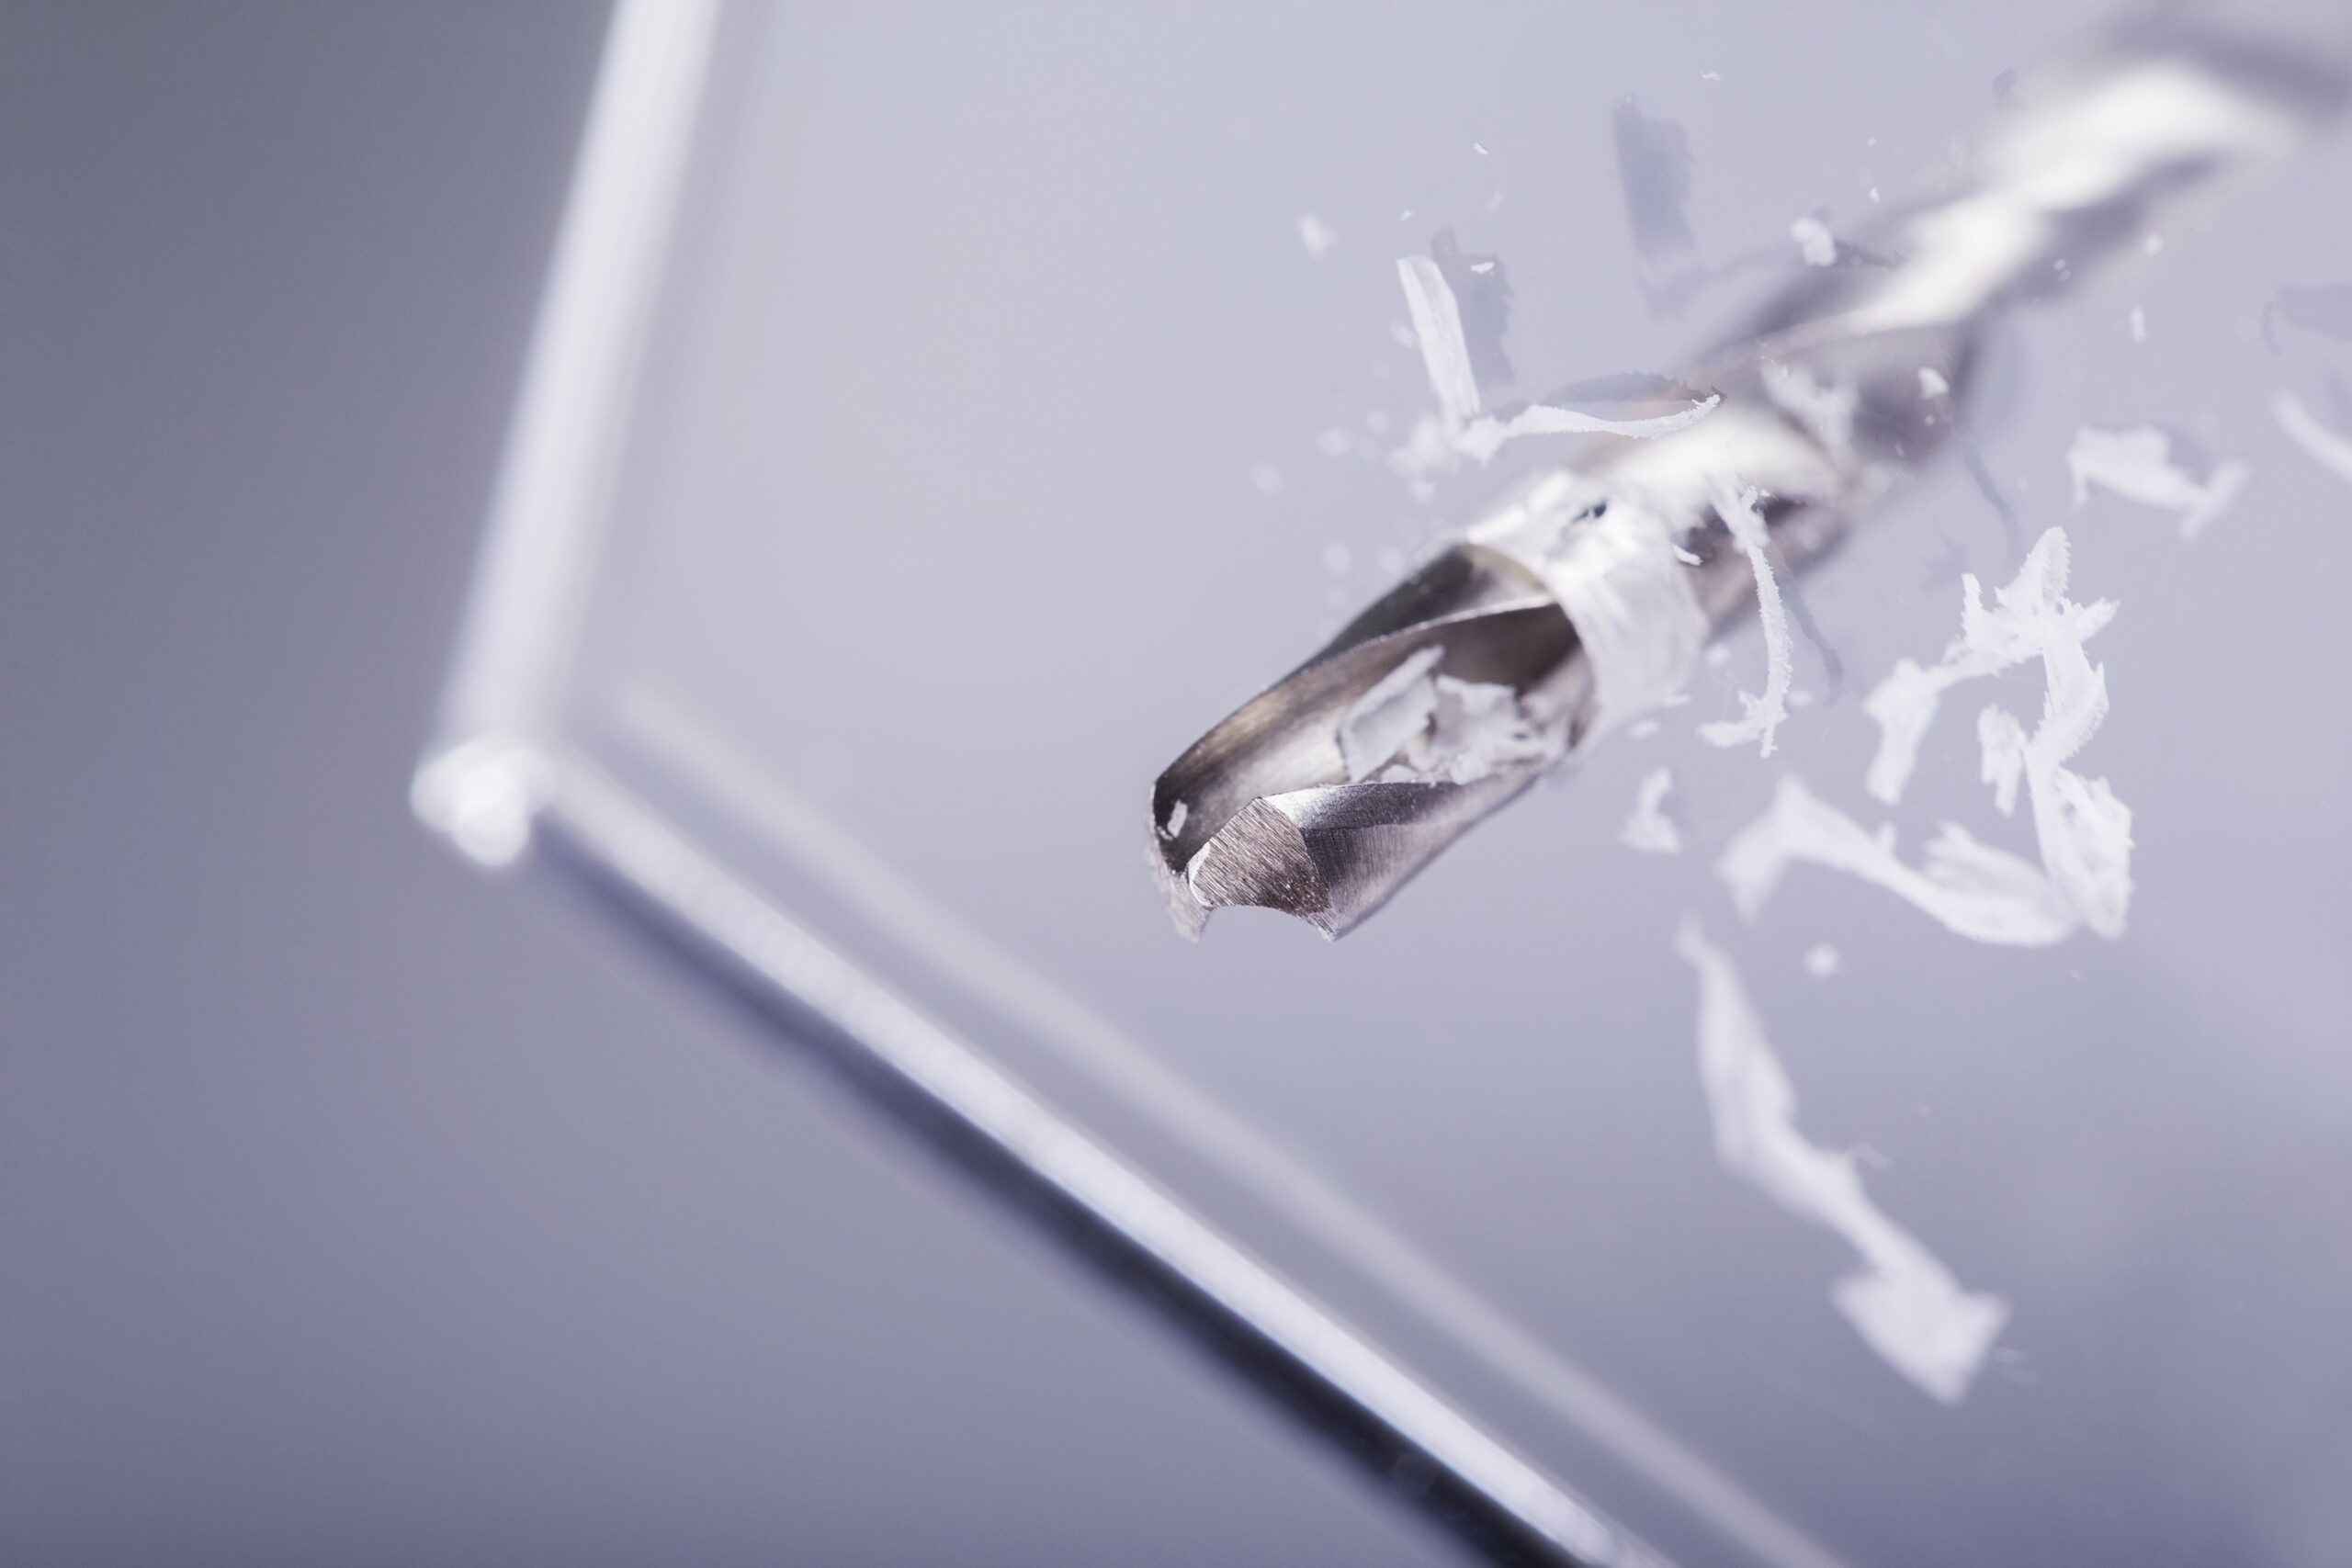
A combination of peck drilling and cooling liquid should be used in order to allow the plastic to cool when being drilled. It is also advised to utilize drills with a thinned web to further restrict friction and heat generation. The hole should be drilled step wise, successively increasing the diameter of the drill and potentially expanded with a boring tool for an improved finish. An example of this would be attempting to reach a bore diameter of 55mm, first drilling with a ø10mm and ø25mm drill bit and finishing with either a ø55mm drill or completing with a boring tool.
In order to limit swarf build up the following needs to be taken into account:
- Small Diameter Holes (1 to 25mm) – High speed steel twist drills are sufficient. Peck drilling and a slow spiral allows for improved swarf removal.
- Large Diameter Holes (25mm or larger) – A slow spiral (low helix) drill or general purpose drill bit ground to a 118° point angle with 9° to 15° lip clearance is recommended. The lip rake should be ground (dubbed off) and the web thinned.
How Do I Prevent Burning When Cutting Engineering Plastics?
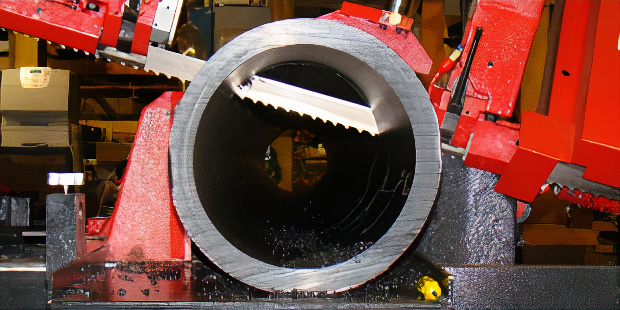
To ensure efficient chip removal and prevent issues such as friction, heat build-up, and saw blockage, it is important to use a band saw, circular saw, or reciprocating saw with widely spaced teeth and adequate set. Proper clamping of the work table is also essential for preventing vibrations and ensuring smooth cutting. Combination blades with a 0° tooth rake and 3° to 10° tooth are generally the most effective for sawing in order to reduce frictional heat. That being said, hollow ground circular saw blades without set will yield smooth cuts up to 3/4” thickness.
DIAGNOSING ISSUES WHILE MACHINING PLASTICS
—————————————————–
DRILLING ISSUES
| Common Issue | Potential Diagnoses |
| Tapered Hole | Blunt drill, insufficient clearance or a too heavy feed. |
| Burning Material | Incorrect drill type, blunt drill, too light feed or too thick of a web. |
| Material Chipping | Feed too heavy or too much clearance / rake. |
| Spiral Lines On Inside Diameter | Feed rate too high, drill is not centred or drill is grounded off-centre. |
| Incorrectly Sized Holes | Dull drill, too much clearance or point angle is too small. |
| Hole Not Circular | Feed too heavy, spindle speed is too slow, cutting tool leaves nib which deflects drill, too thick web, drill speed too heavy at start, drill not mounted on centre or drill not sharpened correctly. |
Please note: other properties may affect the finish of the plastic material depending on its composition and quality.
CUTTING ISSUES
| Common Issue | Potential Diagnoses |
| Melted Plastics | Dull saw blade, insufficient application of coolant or insufficient clearance. |
| Poor Finishes | Incorrect feed rate, poorly sharpened tools or cutting edge not honed. |
| Spiral Marks | Tool rubs during retreat or burr on tool point. |
| Concave or Convex Material | The tool is not completely perpendicular, the tool is deflecting, the feed is too heavy or the tool is mounted either above or below centre. |
| Burns on Outside Diameter | Lack of chamfer prior to cut off or dull tooling. |
Please note: other properties may affect the finish of the plastic material depending on its composition and quality.
TURNING & BORING ISSUES
| Common Issue | Potential Diagnoses |
| Melted Plastics | Unsharpened tool, heel rubbing, slow feed rate, fast spindle rate or insufficient clearance. |
| Poor Finishes | Incorrect feed rate, poorly sharpened tools or cutting edge not honed. |
| Burrs Left After Cut-Off | No chamfer on sharp edges, unsharpened tool, or lead angle not provided on tool. |
| Cracking or Chipping of Corners | Too much positive rake, tool not eased into cut, unsharpened tool, mounted tool below the centre or sharp points on the tool. |
| Chatter | Too much of a nose radius on the tooling, tool not solidly mounted, material not correctly supported or width too cut too wide. |
Please note: other properties may affect the finish of the plastic material depending on its composition and quality.
PLEASE NOTE: This guide has been contracted from the experience of Tynic Automation’s Engineering Department. It is intended as a helpful suggestion in experimentation and should not be entirely relied upon. Tynic is not liable for any expenses caused as a result of following this guide.
